Create a multi-project Excel Functions integration
This procedure explains how to create a "multi-project" Excel Functions integration, which establishes rules for syncing items from multiple Jama Connect projects with your Excel template.
Note
Before beginning these steps, be sure to configure your Excel template.
The process consists of these steps:
Step | Details |
---|---|
1. Complete the Jama Connect Integration wizard to configure an Excel Functions integration. | Create a multi-project integration, which establishes rules for syncing items from multiple Jama Connect projects with your Excel template. NoteTo configure an integration that syncs items for a single Jama Connect project, see Create a single-project Excel Functions integration. |
2. Create field mapping groups. | Use field mapping groups to map fields in Jama Connect to cells in the Excel template. Create a separate field mapping group for each Jama Connect item type that will be integrated with the template. Two types of field mapping groups are:
|
3. Map relationships and Item of Type associations. | Map relationships and associations if your Excel Functions template includes references to upstream or downstream items, or to the value in an Item of Type field. |
Create a multi-project Excel Functions integration.
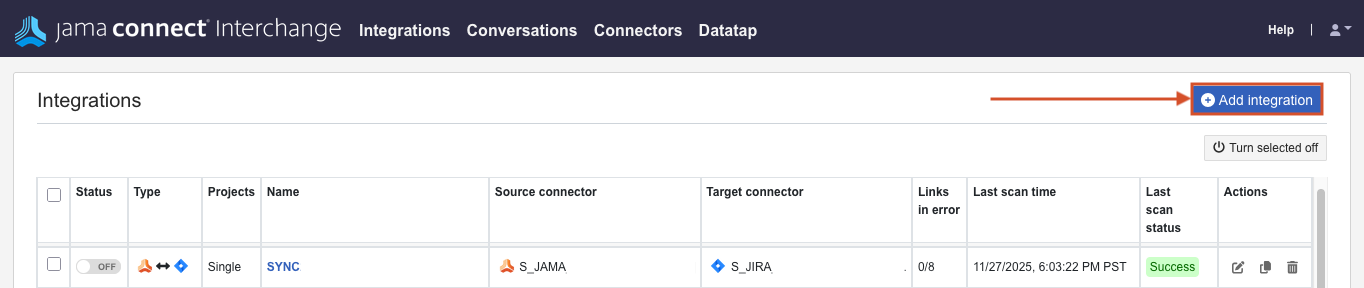
In the Jama Connect Interchange header bar, select Integrations, then select Add integration to open the Jama Connect Integration Wizard.
Complete each page of the wizard, then select Next.
Integration Type — Select the integration type:
Select Integration Type — From the drop-down list, select Jama Connect to Excel Functions, then select Multiple projects.
Note
To configure an integration that syncs items from a single Excel project, see Create a single-project Excel Functions integration.
Connectors — Choose the connectors you want to integrate:
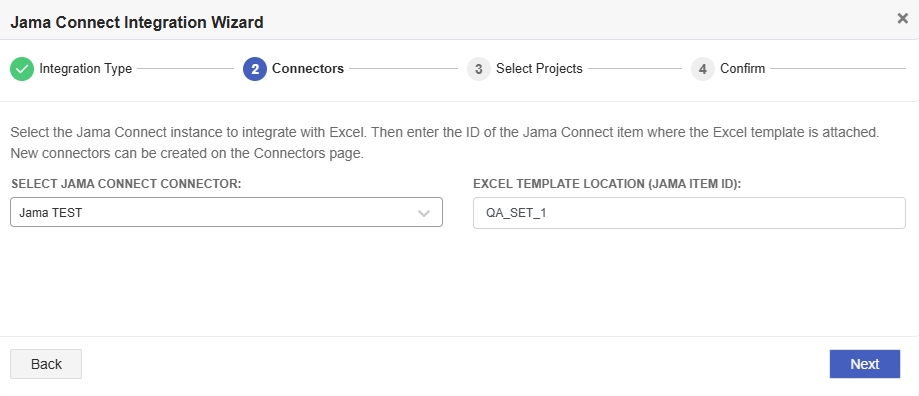
Select Jama Connect Connector — Select the Jama Connect connector that you want to integrate. This is the same connector you created in Link your Jama Connect instance to Excel Functions.
Excel Template Location (Jama ID) — Enter the Jama Connect item project ID where the Excel template is attached. For example, PROJ-SET-0001.
Select Projects — Choose the Jama Connect project:
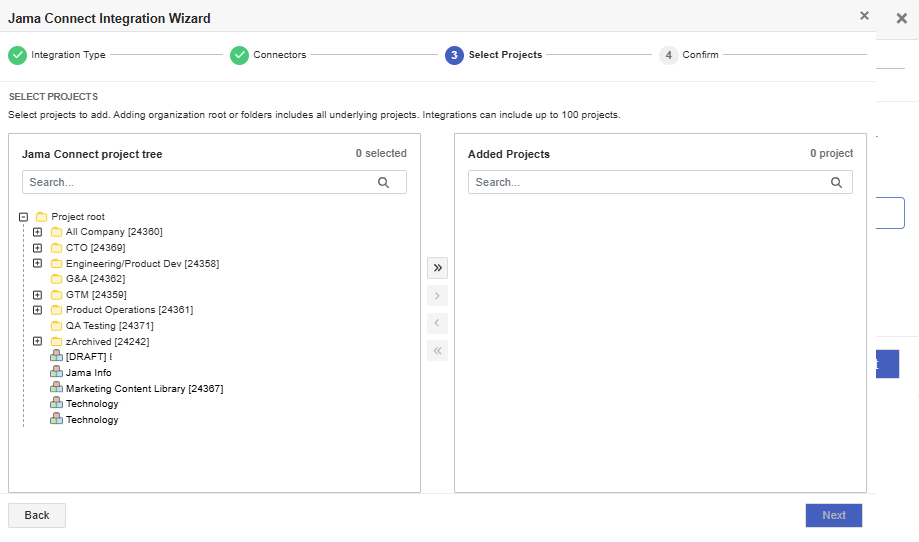
Select Jama Project — From the Jama Connect project tree, select the projects you want to integrate, use the arrow to move them to the Added projects column, then select Next.
Name and configure the integration:
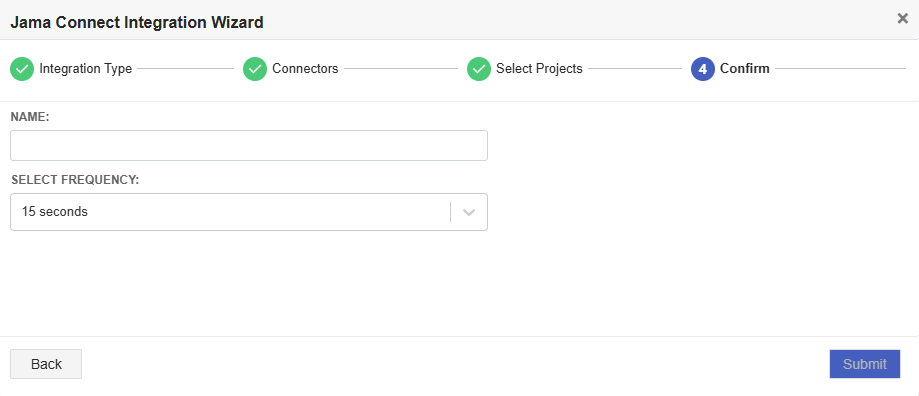
Name — Enter a descriptive name for the integration.
Frequency — Select the frequency with which you want the integration to run (15 or 30 seconds is recommended).
Select Submit to complete the wizard.
The integration is saved in a disabled state.
Create field mapping groups:
On the Integrations page, select the link for the integration you just created.
Select the Field Mappings tab.
For each field mapping group you add, select Add field mapping group.
On the page that opens, make these selections.
Item Type — Select the item type for the field mapping group.
Name — Enter a descriptive name for the field mapping group.
(Optional) If your Excel Functions template includes references to upstream or downstream items, or to the item selected in an Item of Type field, toggle the Associated Mapping Group to ON.
Item Direction — Select whether the items you want to map are Upstream from the base items, Downstream from the base items, or selected in an Item of Type field on the base items.
Related Item Type — Select the item type of the associated item.
Select Save.
The field mapping group is created.
Using the drop-down lists, map the fields and cells to one another. Add a separate row for each field/cell combination, as shown in this example.
These fields are available in each row:
Select Field — Select the field in Jama Connect that is being mapped to Excel.
Directionality — Select whether data is written from Jama Connect to Excel (→) or from Excel to Jama Connect (←).
Select Sheet — Select the sheet in the Excel template where the cell is located.
Input Cell — Enter the cell location in the Excel template. For example, G5.
The fields in a mapping group are processed in this order:
Fields written from Jama Connect to the Excel template (input fields).
Fields written from the Excel template to Jama Connect (output fields).
All input fields are consumed and processed together and not in sequence.
Typically, output fields are read-only in Jama Connect to prevent users from updating them manually. If you mark a field as read-only in Jama Connect, you must also select Allow API Overwrite in the field settings to allow the integration service to write the updated Excel value to the item.
Select Save.